


The past few years I have purchased the LEGO City Advent Calendar, which is great fun for kids. Since I only have two kids, they would alternate days opening the calendar. This year we have a tighter budget, so I decided I would make my own Christmas countdown calendar this year - A LEGO Minecraft Advent calender!
 My kids (and probably yours, too!) are obsessed with Minecraft. There is evidence of this all over the house, including on display in the living room:
 I figured the least I could do was donate two muffin tins, some LEGOs, and a few hours to create a homemade Minecraft Advent calendar! First, I cut out 3 inch squares out of card stock. Then, I punched circles with the leftover card stock, wrote the numbers on the circles, and glued them on to the squares.

 The bulk of time came in designing the LEGO Minecraft miniatures that would fit (in pieces) into the muffin holes. Since my kids are obsessed with the swords and pickaxes, I am going to fill up most of the holes with various combinations (both ones you can build in Minecraft and others that you can't).
For the sword (from top to bottom), I used 4 1x1 bricks, a 1x2 plate with 1 stud, a 1x4 plate, and 2 1x1 cylinders.
For the pickaxe (from top to bottom), I used a 1x2 tile, a 1x4 plate, 2 1x2 plates, and 3 1x1 cylinders.
Here are a few of the 20-something swords and pickaxes I put together, along with a furnace my husband made:

That pickaxe on the right has an obsidian handle (black LEGOs) and redstone (red LEGOs) for the axe part. Other colors to use: blue for diamond, yellow for gold, brown for oak, tan for birch, gray for stone/iron. With all the color combinations, you could easily fill your calendar with only swords and pickaxes! It is fun to include some other items, such as the furnace, or blocks (just throw in a bunch of green/brown or gray/black pieces), or a creeper face (shown at the top). I have been photographing each miniature LEGO piece and am going to print them out tomorrow to glue to the back of each red or green card stock square. I will then take apart each LEGO creation and place it into a muffin tin hole, and either hot glue or tape the squares to the muffin tins. Here are some of the blocks I've included:
Feel free to include traditional Christmas items as well, such as a Christmas tree, a sleigh, presents, a wreath, etc. Here are a few presents:

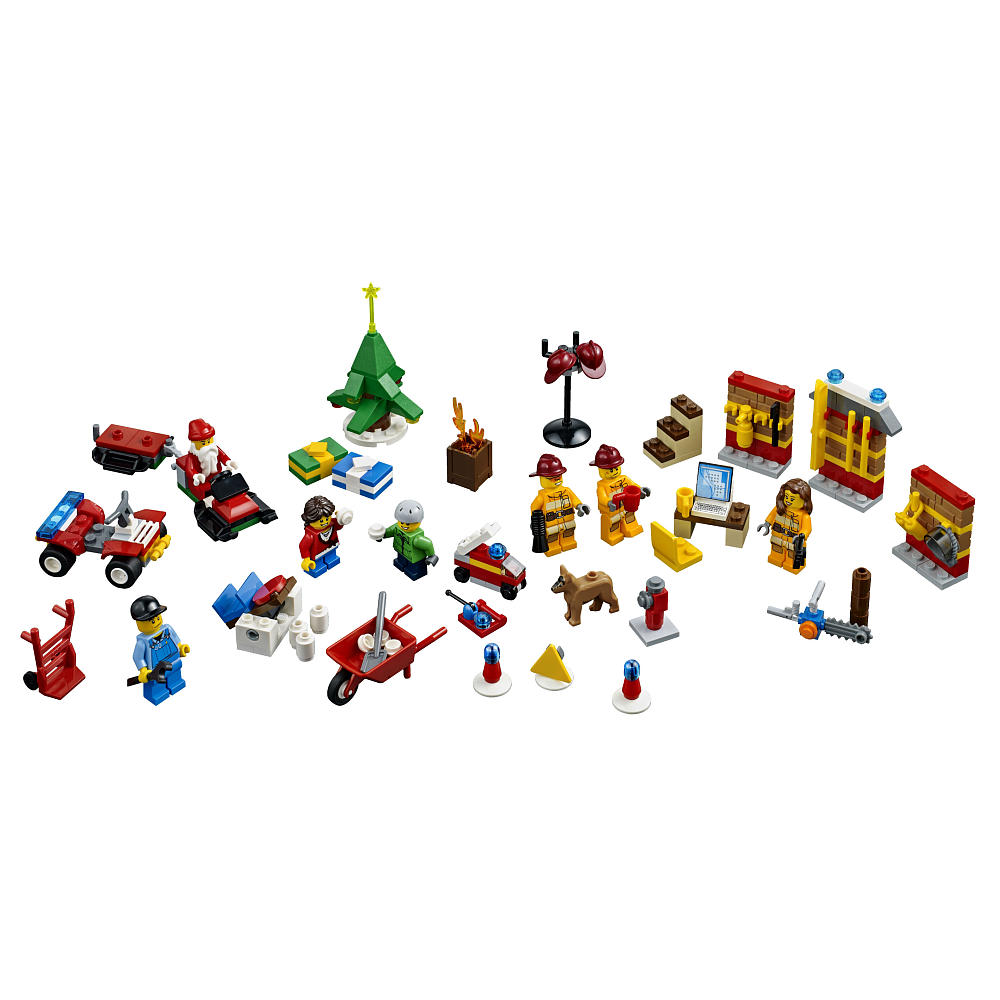
You can get tons of ideas by looking at the contents of previous years' calendars:

The beauty of this project is that you can use what you have on hand. If you don't have a lot of LEGOs, but have a color printer, search for "printable minecraft block" in Google image search and instead make a Minecraft papercraft calendar! If you do this project, I'd love to see the pieces you've created - feel free to link up your own blog posts in the comments below.
For the sword (from top to bottom), I used 4 1x1 bricks, a 1x2 plate with 1 stud, a 1x4 plate, and 2 1x1 cylinders.
For the pickaxe (from top to bottom), I used a 1x2 tile, a 1x4 plate, 2 1x2 plates, and 3 1x1 cylinders.
Here are a few of the 20-something swords and pickaxes I put together, along with a furnace my husband made:
That pickaxe on the right has an obsidian handle (black LEGOs) and redstone (red LEGOs) for the axe part. Other colors to use: blue for diamond, yellow for gold, brown for oak, tan for birch, gray for stone/iron. With all the color combinations, you could easily fill your calendar with only swords and pickaxes! It is fun to include some other items, such as the furnace, or blocks (just throw in a bunch of green/brown or gray/black pieces), or a creeper face (shown at the top). I have been photographing each miniature LEGO piece and am going to print them out tomorrow to glue to the back of each red or green card stock square. I will then take apart each LEGO creation and place it into a muffin tin hole, and either hot glue or tape the squares to the muffin tins. Here are some of the blocks I've included:
 |
| Clockwise from top left: gold, redstone, bedrock, diamond. |
Feel free to include traditional Christmas items as well, such as a Christmas tree, a sleigh, presents, a wreath, etc. Here are a few presents:
You can get tons of ideas by looking at the contents of previous years' calendars:
The beauty of this project is that you can use what you have on hand. If you don't have a lot of LEGOs, but have a color printer, search for "printable minecraft block" in Google image search and instead make a Minecraft papercraft calendar! If you do this project, I'd love to see the pieces you've created - feel free to link up your own blog posts in the comments below.


 you can buy can run $40! Eek! To de-bark, I cut into the bark with a blade and then peeled it back with a putty knife or my fingernails. It was fairly time consuming, but I'm really happy with the result. After all of the bark was removed, I sanded all of the block first with coarse sandpaper, and then with fine sandpaper.