momgineer: attention-building
Showing posts with label attention-building. Show all posts

more challenging transferring activities

I posted about transferring almost two years ago. Recently I decided to set up another transferring task while I was making dinner. While I used to set up this task often, we hadn't done it in awhile, so I tried to think of some more challenging items to transfer. Glass "stones" and marbles? Sure, why not?

F stuck with regular stones from the dollar store.
The wooden apples get used SO OFTEN here! Incredibly versatile!
Marble transfer.
Pennies! Now that's a challenge!

This gave me 20+ minutes of silence. I got to prep dinner, they got fine motor skill practice. We all won!

painting pine cones

This is a great activity to do outside on a nice autumn day. It is a wonderful fine motor and attention-building activity; painting an entire pine cone takes a lot of focus and time. Collect your pine cones on a nature walk ahead of time if you don't have any nearby.

I ended up filling another paint cup with glue. Paint the glue on with a paint brush and then sprinkle the glitter on. Glitter in a shaker bottle is handy for this!
Getting set up.
What you need:
  • pine cones
  • washable paint
  • paint brushes
  • smocks (it gets messy!)
  • glue and glitter (optional)

Concentrating.

It's hard to get in all the nooks and crannies!

Painting!

Glittery.
Letting them dry.
Pin this idea for later:

Painting pine cones is a fun nature art activity for little ones! Find and collect pinecones on a nature walk and then paint and decorate them. | Meredith Anderson - MomgineerPainting pine cones is a fun nature art activity for little ones! Find and collect pinecones on a nature walk and then paint and decorate them. | Meredith Anderson - Momgineer


    Nature Bingo Printable Activity - Take a Hike with your Kids

    Play Nature Bingo on a Nature Walk! 

    Nature BINGO cards to use when hiking, camping, or walking around your neighborhood. Get outside and enjoy nature with your kids! | Meredith Anderson - Momgineer

    At one lovely visit to Dinosaur State Park in Connecticut, they had a game of Nature Bingo available that the kids found really enjoyable. All you need is images and/or words of things in nature that you would find in your neighborhood. I made the following cards based on things we might see in our neighborhood, but feel free to make your own if you have different nature items near you. This is a great activity for Earth Day to really connect with nature.

    How to Use these Nature Bingo Cards

    • Print out and laminate the cards, then (optional)
    • Hole punch two holes to thread yarn so you can wear the card around your neck.
    • Use washable markers / dry erase to mark off what you see.
    I attached Velcro stickers to the Nature Bingo cards and washable markers so you don't have to hold your marker either. Use these cards over and over again, whether you are camping, exploring a new hiking trail, or going for a walk in your neighborhood.  Feel free to click on the images to enlarge and print them or download the entire set at my Teachers pay Teachers store! I may add a 5x5 true BINGO card in the future, but 4x4 seems to be the right size for preK through lower elementary.
    Nature Bingo - Great for Earth Day!


    Update: there is also a free downloadable set available at the Mass Audubon site!

    *Full image credits are included in the full download, available at Teachers pay Teachers.

    weaving practice

    This was an inexpensive and fast (<15 minutes to set up) project that I got the idea for after visiting a children's museum that had something similar.


    What you need: 
    • Frame (mine was $1 at the local dollar store)
    • String
    • Scissors
    • Fabric, ribbon, shoelaces, etc. Different textures are nice. I threw some hook and loop in there too.
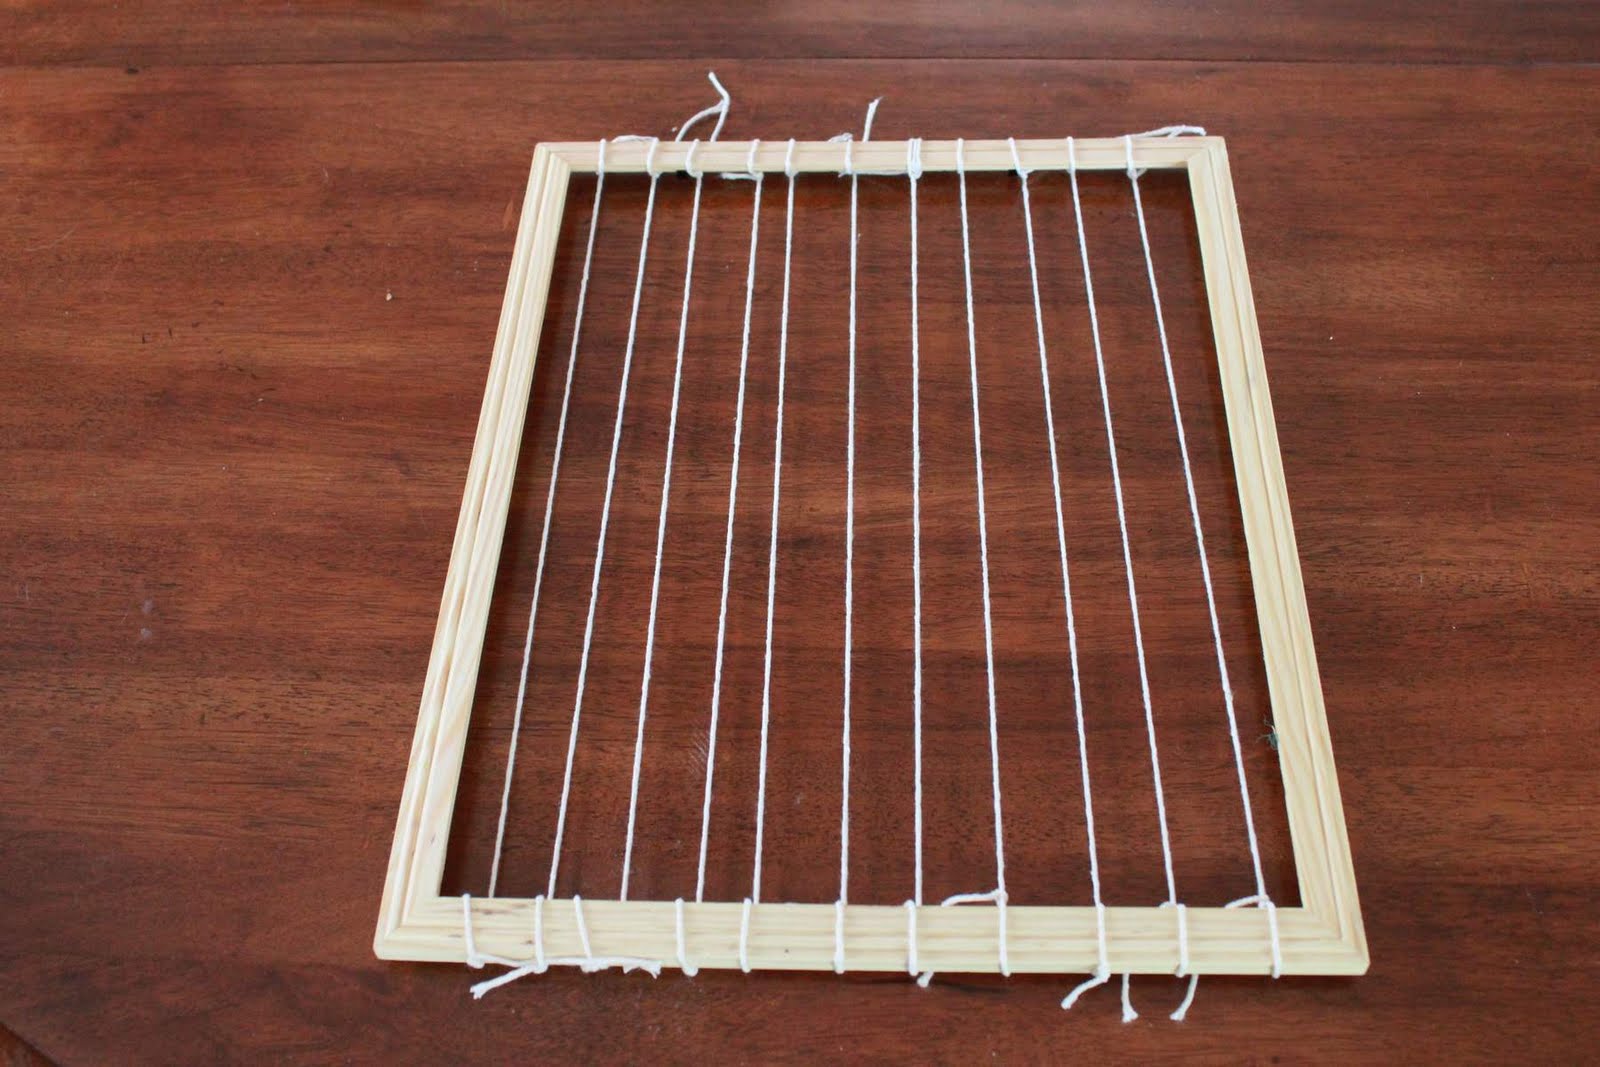
    The frame I started with. I just took out the glass and paper.
    Add some strings. I will probably add more to make it more challenging in the future.
    Materials for weaving. Cut the fabric to different widths.
    H weaves.
    Done!
    It might be fun to have different colored fabric scraps around for different holidays, or to make a rainbow, or enough of the same kinds to do patterns. After some practice we might move on to a real weaving frame, but this is fun in the meantime. Apparently it is even more fun to pull all of the ribbons out after the project is complete!

    i-spy bottle

    I saw this post recently and it reminded me how I've been wanting to make one of these for awhile with the kids. They have been having fun playing with it and I think we'll make another one so they each have one for car rides.

    i-spy bottle
    What you need:
    • a cleaned out, dry, transparent container with a lid
    • rice, beans, lentils, bird seed (good idea to freeze overnight first)          
    • objects to spy - you could do a theme or just random items
    • glue
    Basically you just fill the bottle with the filler and your objects, making sure to only fill it about 75% of the way so that you are able to shift it around to find things. I decided we would put two of each item in to increase the likelihood of finding at least one of them. I'm glad we went with a variety of shapes/sizes/colors because some of them are very easy to spot for F, and others are much more difficult (like the coins, even I have a hard time finding them!). I added a little bit of glue to the threads on the bottle to help keep the lid on.
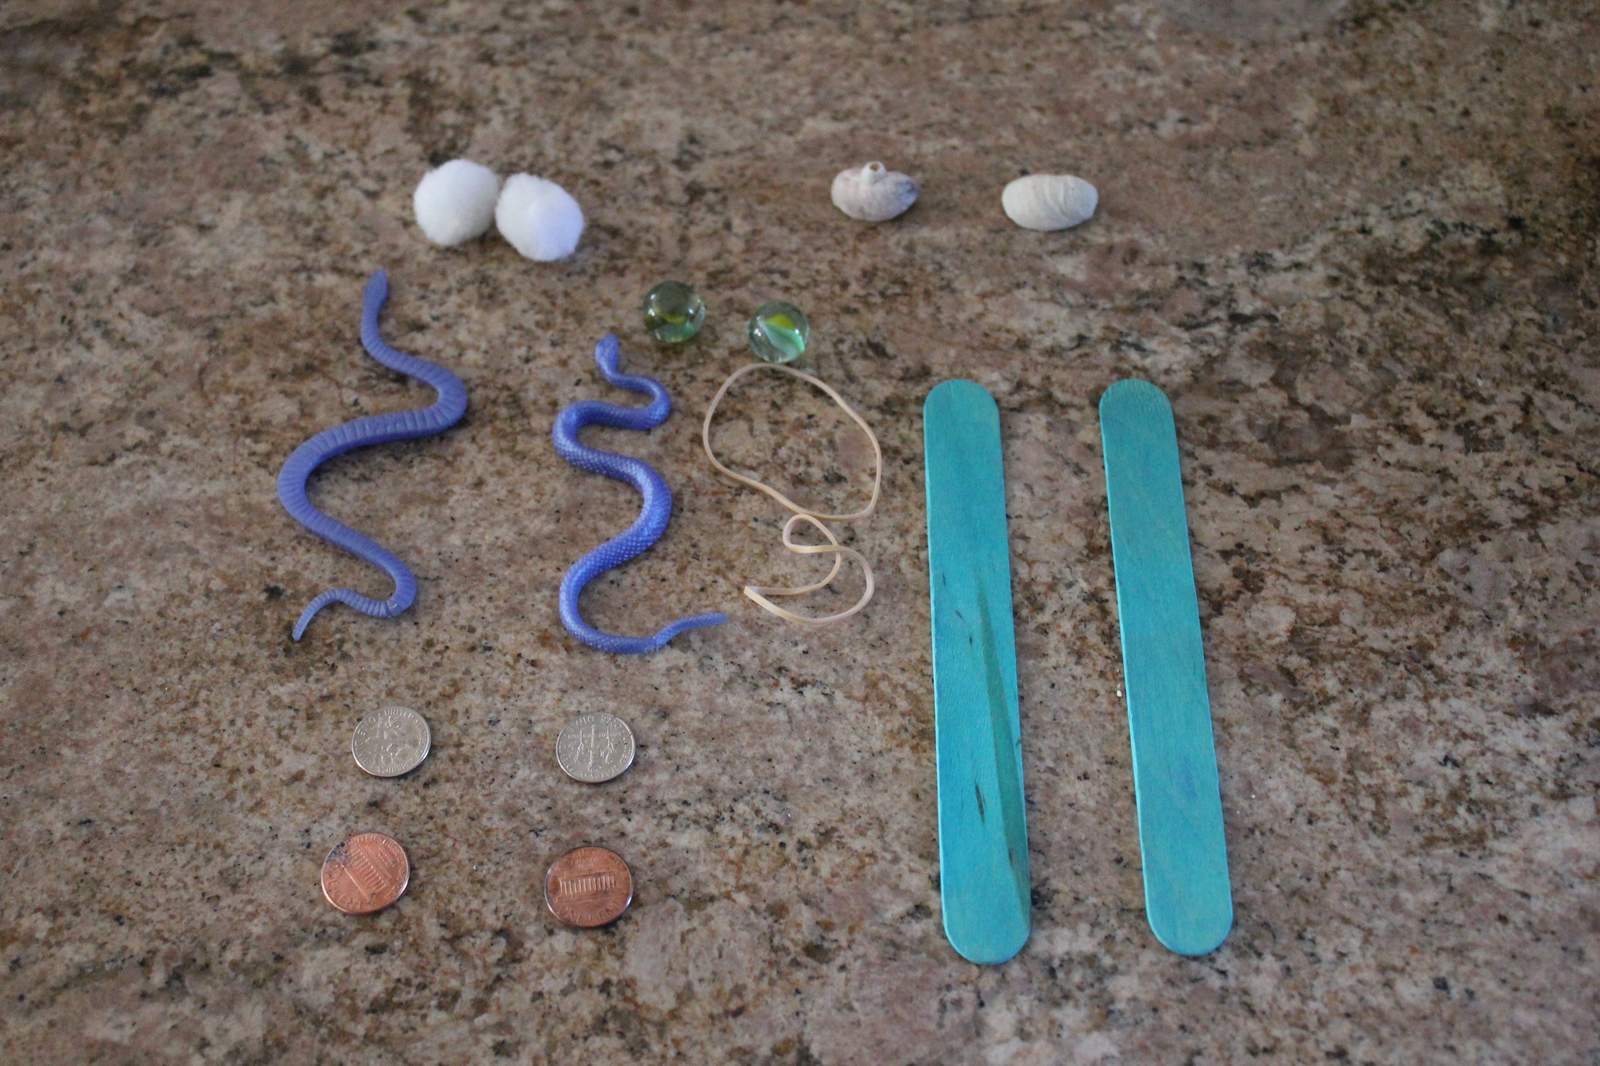
      objects in our i-spy container
      filling the bottle

      leaving space makes it easier to manipulate

      bar graphs

      Bar graphs are a useful tool for visualizing discretely measurable data. H & F love to sort objects by color, size, type, etc. and we started making bar graphs a few months ago because I thought they would be a fun teaching tool.

      What you need:
      • paper
      • crayons, markers, or pencils
      • objects to sort
      We made a bar graph for trains this time. F routinely sorts them by color, so I thought it would be fun to see what our train collection looked like in graph form. I drew the axes and labeled them (the child can also do this part), H & F sorted the trains, counted them up, and H colored in the squares on graph paper corresponding to the number of trains we have.

      Bar graph of our toy trains
      1. Set up your graph with labeled axes
      2. Sort your objects.
      F did most of the sorting.
      We decided to include tenders as well.
      3. Fill in the graph (H used colored pencils).
      This is an activity they really enjoy and I hope you do too! You can ask your child which color has the least, most, which have the same number, etc. If you are looking for another math tool you can ask how many more of X colored trains would you need to have the same number as Y colored trains, and so on.

      toddler dump and fill

      Though this isn't something that holds either H's or F's attention for long these days, it kept them busy for long stretches when they were toddlers. I thought I'd share some of our favorites.

      What you need:
      • Containers
        • Cheese shaker
        • Sugar container
        • Empty coffee cans or other cylinders with plastic tops
        • Empty milk or other jug
      • Fillers
        • Pompoms
        • Chenille sticks
        • Large play coins
        • Straws in different colors/lengths
        • Stretchy snakes
        • Craft sticks
      Some of our favorite containers
      This one is nice because it is only semi-transparent
      Closeup of the slot I cut in the lid.
      Just fill and dump! You can make a sorting game out of it (sort the pompoms by color, or straws by length, etc) or give your child a variety of objects and ask them to sort by which items fit and which are too big.

      tangrams

      We love playing with tangrams! The Magnetic Travel Tangoes - Animalsset we have is great, but I thought it would be fun to have a larger set to play with as well so we made some!

      What you need:
      • large piece of cardboard (shirt/cereal box)
      • ruler
      • pencil
      • scissors
      Optional items:
      • printer 
      • clear contact paper
      • foam paper/felt
      • hole punch 
      • sting/yarn
      The instructions for making your own set can be found here. I doubled the scale on my set, and used an old shirt box.

      1. Break open the shirt box and trim the edges off.

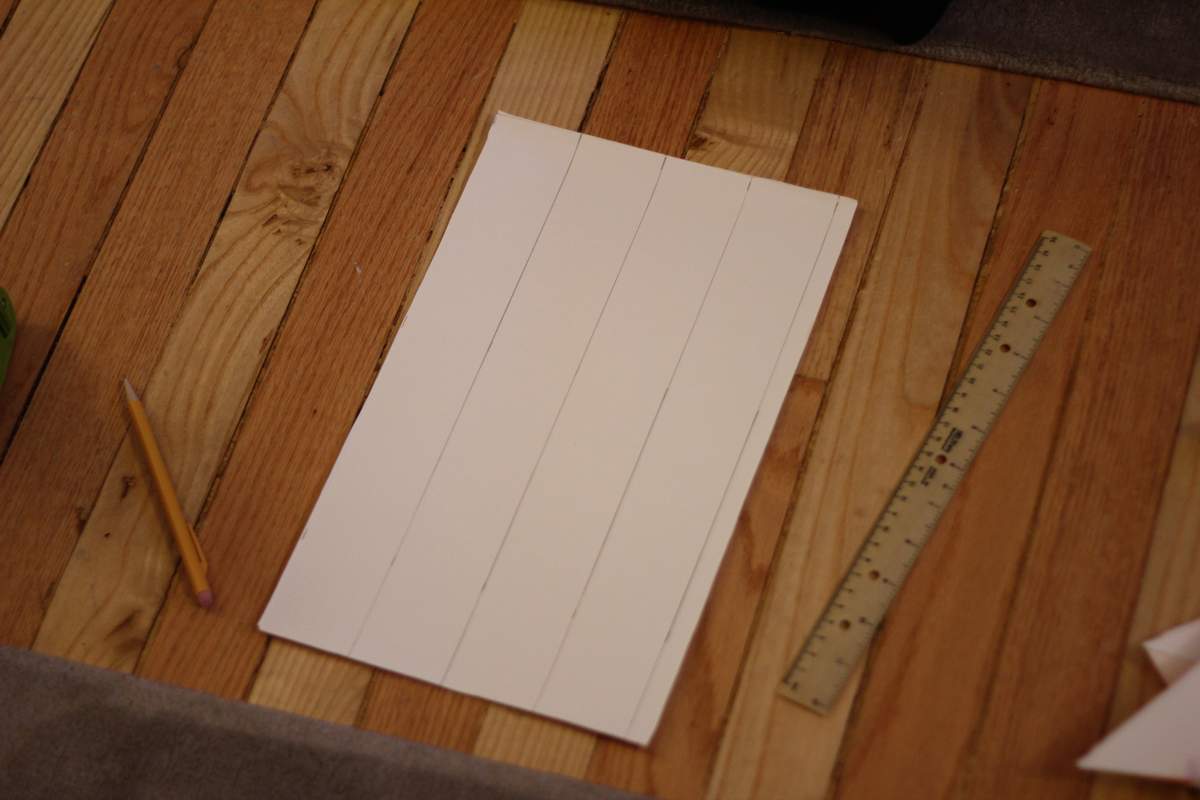
      2. Start drawing your grid.

      3. Complete the grid to make it 4x4, trim off the excess, and follow the pattern from the link above or copy mine below. Each of my squares are 2" x 2", for reference.


      4. Before you cut, if you'd like the pieces to be a little more robust, put contact paper on the side you didn't draw on, and trim off the excess.

      5. Cut your shapes! You'll want to either draw your cutting lines darker than mine or pay close attention to the cuts.

      6. The rhombus is the only asymmetric piece so I cut a matching piece out to glue onto the back, since you need to flip it over for certain puzzles.

      You can play with your tangram pieces now! Beyond this point is optional!
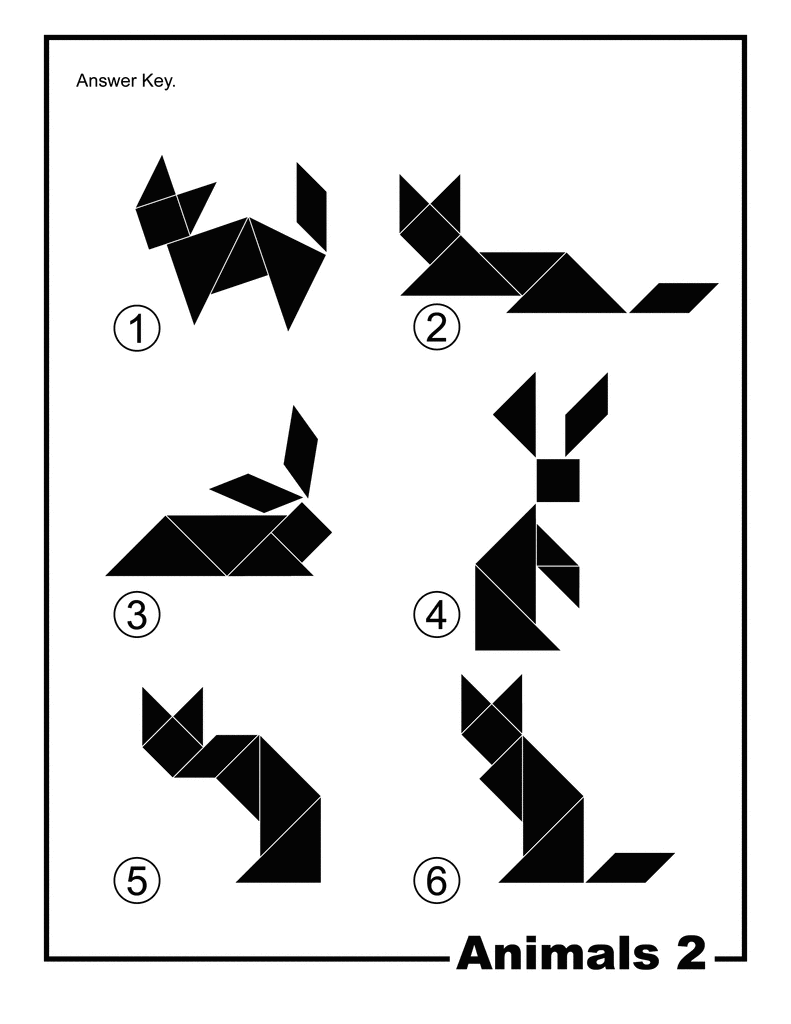
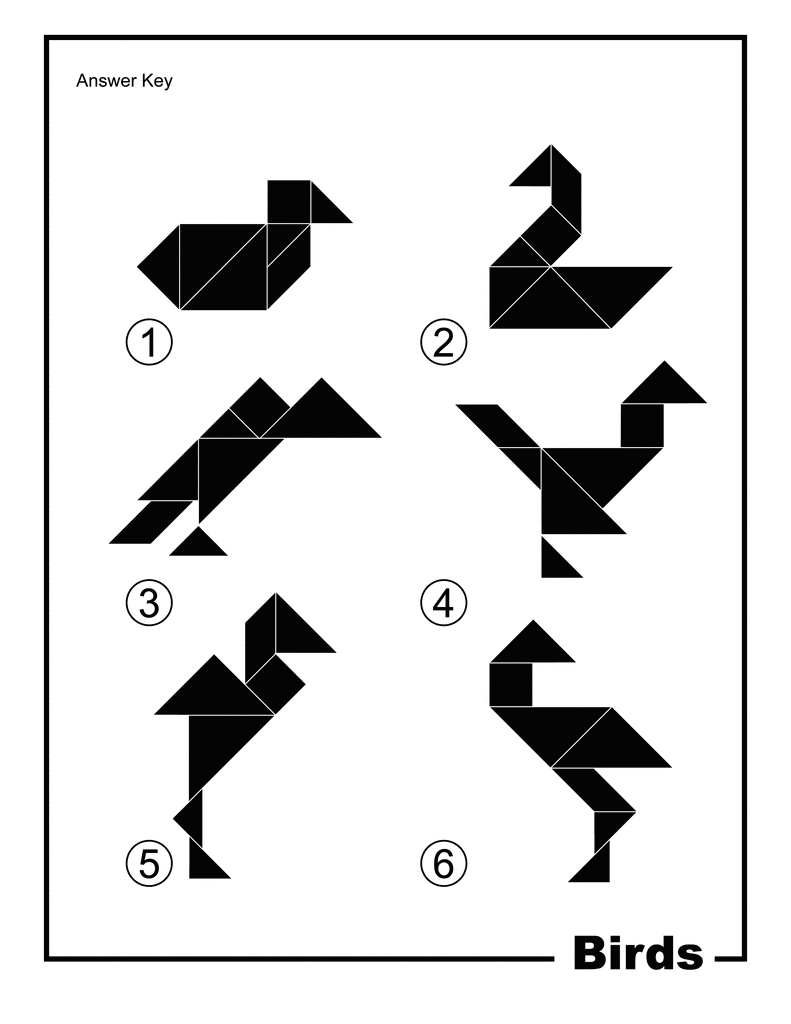
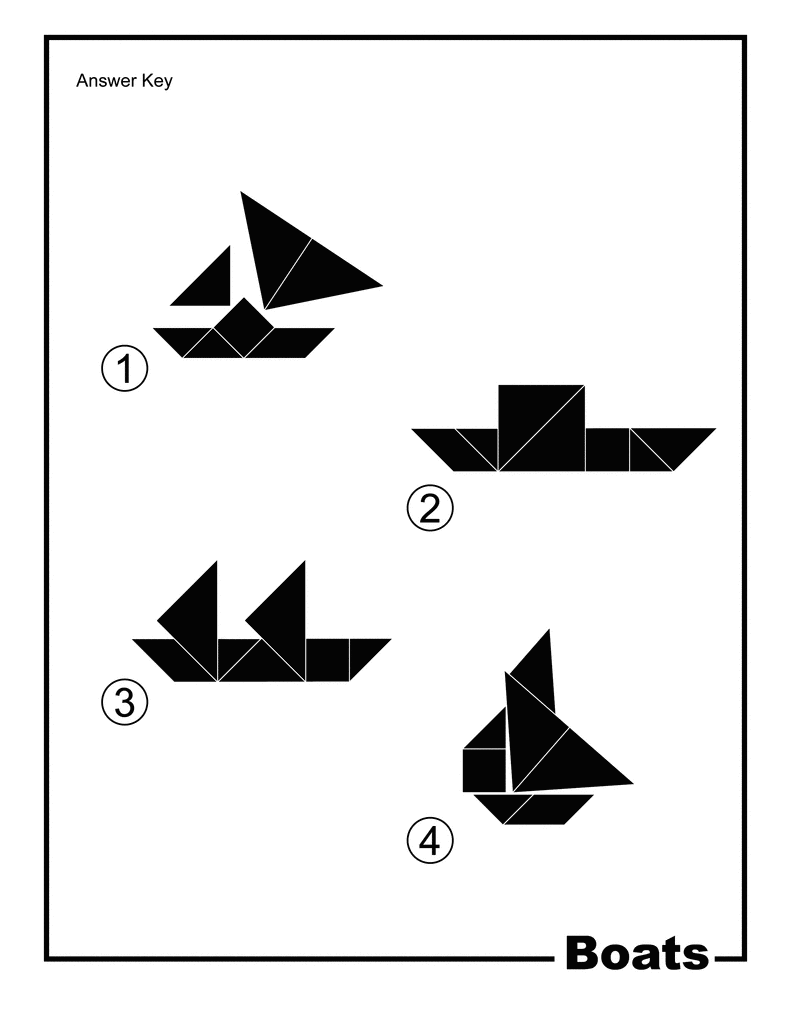
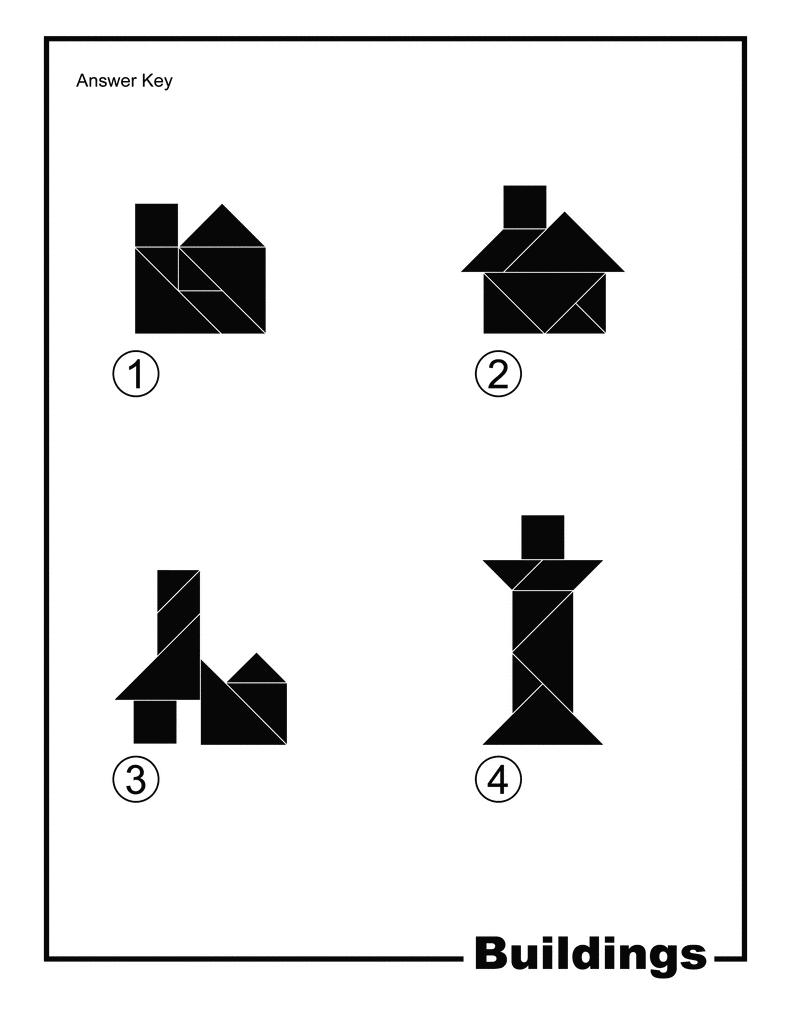
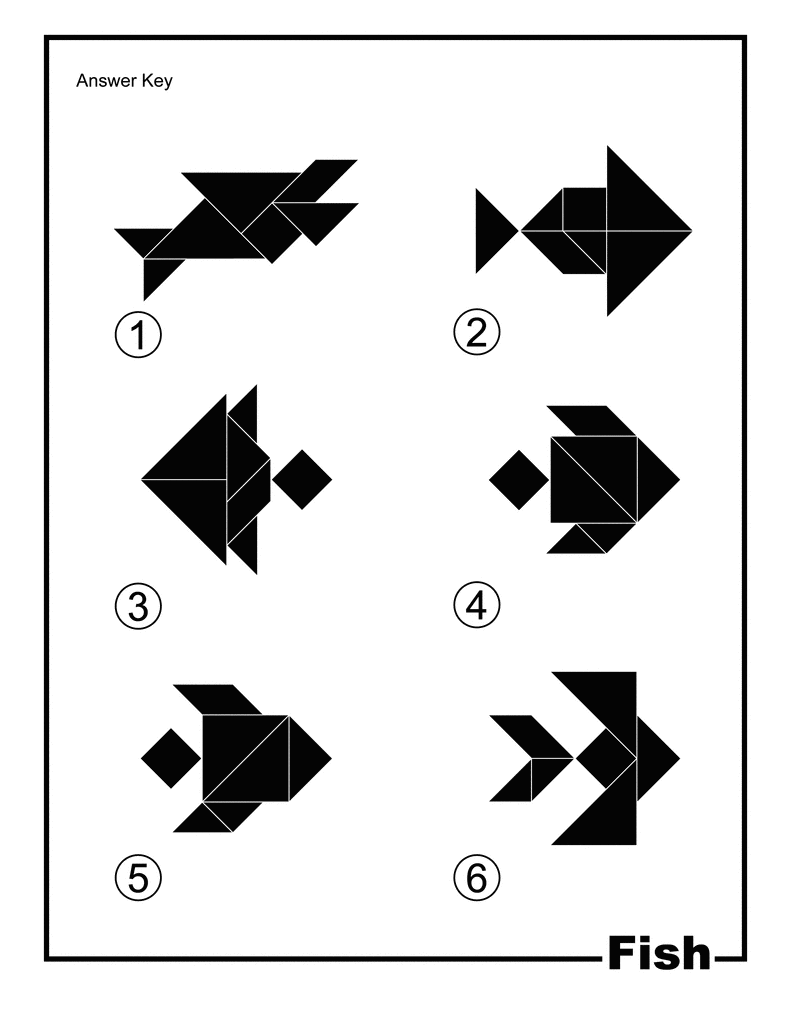
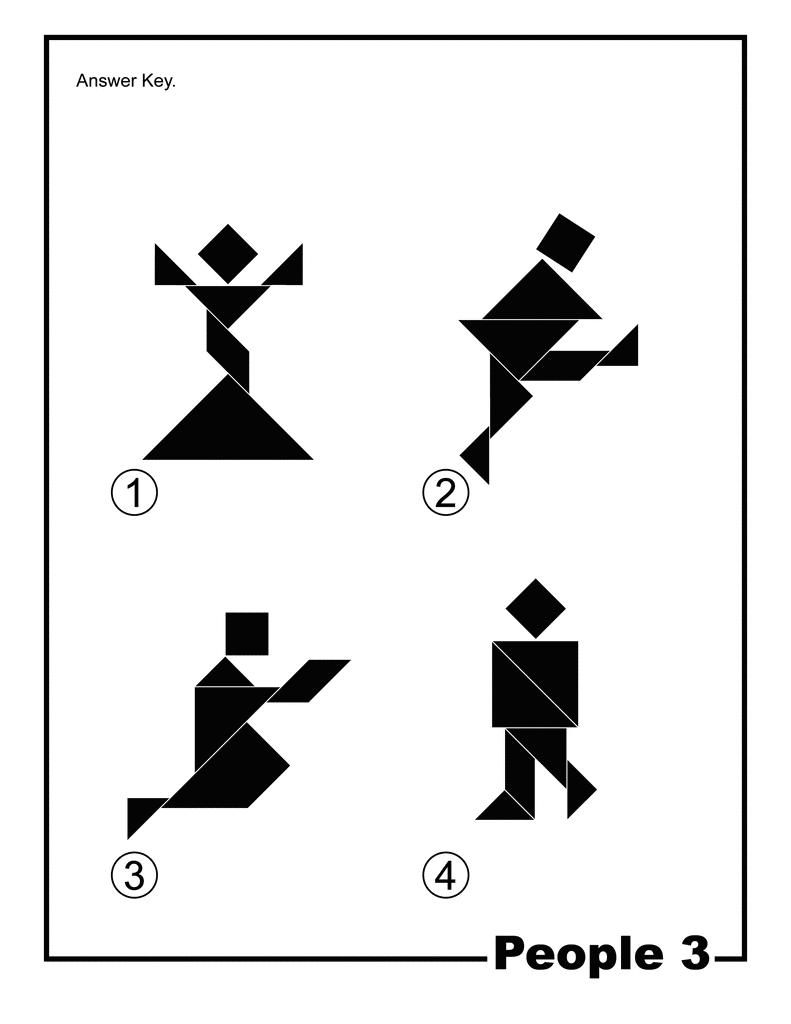
      7. I suggest sticking with either your own creations or solutions to the puzzles at first. Tangrams can be very challenging so if you print out silhouettes, try them first just to see how difficult they can be! Here are a few (found by Google image searching "tangram solutions"):
      Animals
      Birds
      Boats
      Buildings
      Fish
      People

      Silhouettes like this are also available.

      I printed out several:

      8. I then popped them into a book with foam paper (felt or cardboard work as well) by cutting two pieces of foam slightly larger than the solutions...

      9....and used my favorite hole puncher and string to finish it off:

      10. Now you can make fun things like a rabbit (this is actually a different one than the one above):

      11. Or you can have a mismatched pajama party and make a house:

      To take this a step even further, add magnets on the back of the shape pieces and it's a fun refrigerator game. You can also add a pocket to the inside of your book and you have a set of travel tangrams for your next long trip (though you might want to make a smaller set for that!).