


STEM sticks
What are STEM sticks? Think of Brain Breaks activity sticks but with a STEM spin on them.Though it's best to do STEM challenges in small groups and get everyone involved, these are fun for filling gaps in the day: use as an independent activity your early finishers or at a science station, or as a way to transition back to the classroom after lunch or a field trip.

For the Youngest Students
For your youngest inventors, all you will need is an inventor's box. You could make image-based STEM sticks, but chances are they will just start building at the station. Here are some ideas you can search through for ideas about what to put in yours:

I change out materials based on what I have. Here is our current STEM station (index cards, string, aluminum foil, craft stick, straws, clothes pins, glue, rubber bands, paper clips, cardboard tubes, pipe cleaners):

Something I also LOVE for a station like this is a cheap dollar store chip and dip tray (coffee filters, pompoms, plastic egg cartons cut into thirds, washers & lollipop sticks, beads, building block components, string, fabric):

For the Classroom
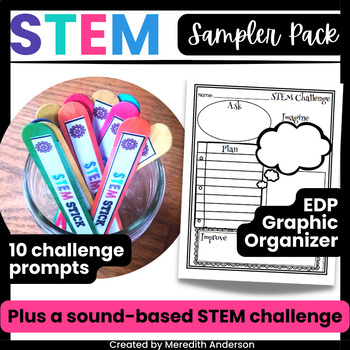
I printed out 5 inch x 1/2" strips with STEM ideas and glued them onto one side of a large craft stick, with a STEM sticks label on the reverse.

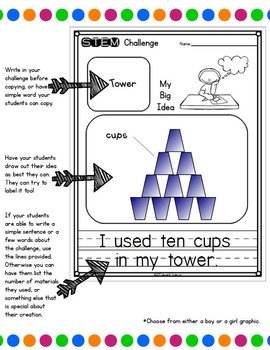
At the STEM station, it's a good idea to have STEM journals or lab sheets. To follow the engineering design process, you need to plan before you start to just build! Define the problem, brainstorm ideas, plan it out, build it, and then test it! Have your students record their test results so they can reflect on how well their design worked or if it needs modifications. You can use a simple graphic organizer like the one shown - just download it from the free resource below.

That's okay! You can also use these as a STEM challenge of the day (or month). Have your students pick three from the jar and let them choose from the three. Send them home with a recording sheet and let them use materials they have at home (this is a good time for them to dig through their recycling bins!).
Are you ready to try STEM sticks or a STEM challenge? Here is a FREE resource so you can try them out with your students.
If you like the sampler, and want even more STEM sticks and STEM resources for your classroom, please visit:

The above resource also includes STEM journal options, which can be used full page, printed as a booklet (use Adobe Acrobat Reader), or used in interactive notebooks. Not only does a journal help students work through the engineering design process, it's a great way to document their thought process. It also can serve as a reminder of what worked and didn't work as it might apply to a future problem!

No comments:
Post a Comment