momgineer

window ghosts

These were done basically the same way as our Valentine's Day window decorations. The kids really love tearing up tissue paper so I always save as much as I can from gifts or packaging.

What you need:
  • clear contact paper
  • tissue paper, torn or cut into small pieces
  • stickers or stick on googly eyes, and any other decorations you'd like
Just cut out some ghost-shaped templates, peel off the backing, stick on your tissue paper, and decorate!
I cut out some templates of ghosts on the contact paper.

Making ghosts.
"Happy ghost"
"Silly ghost"
From outside the window.

    sink or float?

    This is a fun experiment to do, because the kids can decide which of their toys/craft supplies they would like to test (as long as they are waterproof). It can be surprising which items will float in water and which items will sink. This is hands-on learning of buoyancy and density!

    Part 1: Random objects
    What you need:
    • large glass/plastic cup or bowl
    • items that will sink or float! (ideas: marbles, paper clips, lemon slice with rind off, legos, lemon slice with rind on, plastic toy animals, craft sticks, sponges, small bowls or cups, a balloon filled with air, a water balloon, a feather, a ball of clay, a boat made of clay, boats made of other items like craft sticks, etc.)
    Have them guess which items might sink or float ahead of time, and see if they're right!  We used part of the Thames and Kosmos Little Labs Boats for this experiment, but it is not necessary to buy the kit to do this experiment.
    Sinking marble.
    Floating clay boat.
    Floating marble in the boat.

    Lego floating.
    You can sort the objects by whether they float or sink.

    Part 2: Eggs
    What you need:
    • 1-3 eggs (one for each glass or just keep reusing the same one)
    • Three glasses, pitchers, or bowls
      • Fill one with regular water
      • Fill one with heavily salted water (stir well)
      • Fill one halfway with salt water, and keep a small pitcher of tap water on hand
    Ask your child what he thinks will happen when he puts the egg in each glass. For the third glass, put the egg in so it will float to the top of the salt water (salt water is more dense than an egg), and then slowly pour the tap water on top. It will keep the egg floating halfway in the glass:

    painting pine cones

    This is a great activity to do outside on a nice autumn day. It is a wonderful fine motor and attention-building activity; painting an entire pine cone takes a lot of focus and time. Collect your pine cones on a nature walk ahead of time if you don't have any nearby.

    I ended up filling another paint cup with glue. Paint the glue on with a paint brush and then sprinkle the glitter on. Glitter in a shaker bottle is handy for this!
    Getting set up.
    What you need:
    • pine cones
    • washable paint
    • paint brushes
    • smocks (it gets messy!)
    • glue and glitter (optional)

    Concentrating.

    It's hard to get in all the nooks and crannies!

    Painting!

    Glittery.
    Letting them dry.
    Pin this idea for later:

    Painting pine cones is a fun nature art activity for little ones! Find and collect pinecones on a nature walk and then paint and decorate them. | Meredith Anderson - MomgineerPainting pine cones is a fun nature art activity for little ones! Find and collect pinecones on a nature walk and then paint and decorate them. | Meredith Anderson - Momgineer


      stained glass jack-o-lanterns

      My first idea for making these was to use crayon shavings and then heat them up between wax paper. It worked out okay but the colors ran a little too much - it's not really clear what we were going for! I think it would work for older kids, or kids who are more meticulous about placing the crayon shavings (read: not my kids!), or moms who had the time and patience to hang around with an iron for awhile. However, my second idea worked out much better for my kids, who like to color furiously and rarely stay inside any lines. The only trick to this is that you will be dealing with a warm plate, so you have to make sure it is hot enough to melt the crayon, but not so hot as to burn little hands.

      I'll show the first method here anyway, though after doing some research, I am not the first to think of it! Check out The Artful Parent to see how she did her stained glass projects. Beautiful!

      First method:
      What you need:
      • crayons, shredded or cut, and separated into bowls
      • jack-o-lantern template
      • wax paper, twice as long as your template
      • plate (or other defined work area)
      • tape, to secure wax paper to plate
      Place your template on the plate, and the wax paper on top. Tape the wax paper to the tape to keep it from moving around. Sprinkle the crayon shavings on top. Fold over wax paper and either iron on low or microwave on low for 30 seconds at a time until the shavings have melted enough. Let cool. Cut out to desired final shape.

      Getting started.
      Crayon bits placed.


      Semi-success.


        Second method, that worked better for us (way less messy, though not quite as pretty and vibrant):
        What you need:
        • warmed plate (I warmed mine in the microwave)
        • wax paper
        • jack-o-lantern template, if desired
        • crayons
        • tape
        Place your template and wax paper on the warmed plate. Tape the wax paper to the plate to keep it from moving around. Press crayon into plate and hold for a few seconds until it starts to melt, then color as you would color paper. Fold over wax paper. Let cool. Cut out to desired final shape.

        Easy peas-y!
        This was so much fun we ended up doing a bunch of them!

         stained "glass" jack-o-lanterns

          quick light box

          I have always liked the light table at our local children's museum. Due to several recent posts exploring light at Play At Home Mom, I have really been coveting a light table. While I would love to have one, I can't justify the cost without knowing how much use it would get. For our purposes at this point in time, I decided to make a quick test model just to see how long a light table would hold interest.

          Playing with color.
          What you need:
          • Bin or box with a translucent lid
          • Aluminum foil
          • LED flashlights (regular, if that's all you have!) or holiday lights (a resourceful mom I know used these!)
          • Objects that allow light through!
            • marbles
            • stones
            • tissue paper
            • magna tiles(if you have them)
            • clear plastic bottle (optional) 
            • x-rays

          Line your box with aluminum foil. Turn on all the flashlights. Put the lid on.
          What it looks like inside.
          Turning the flashlights on end so they point toward the lid works well, but was too difficult to see in photos.
          Voila! Two minute light table!
          It's not perfect, but it definitely served its purpose. I will probably use a larger bin next time, but everything else worked well enough to do again. The tissue paper was great for making colors!

          kefir bottle bowling

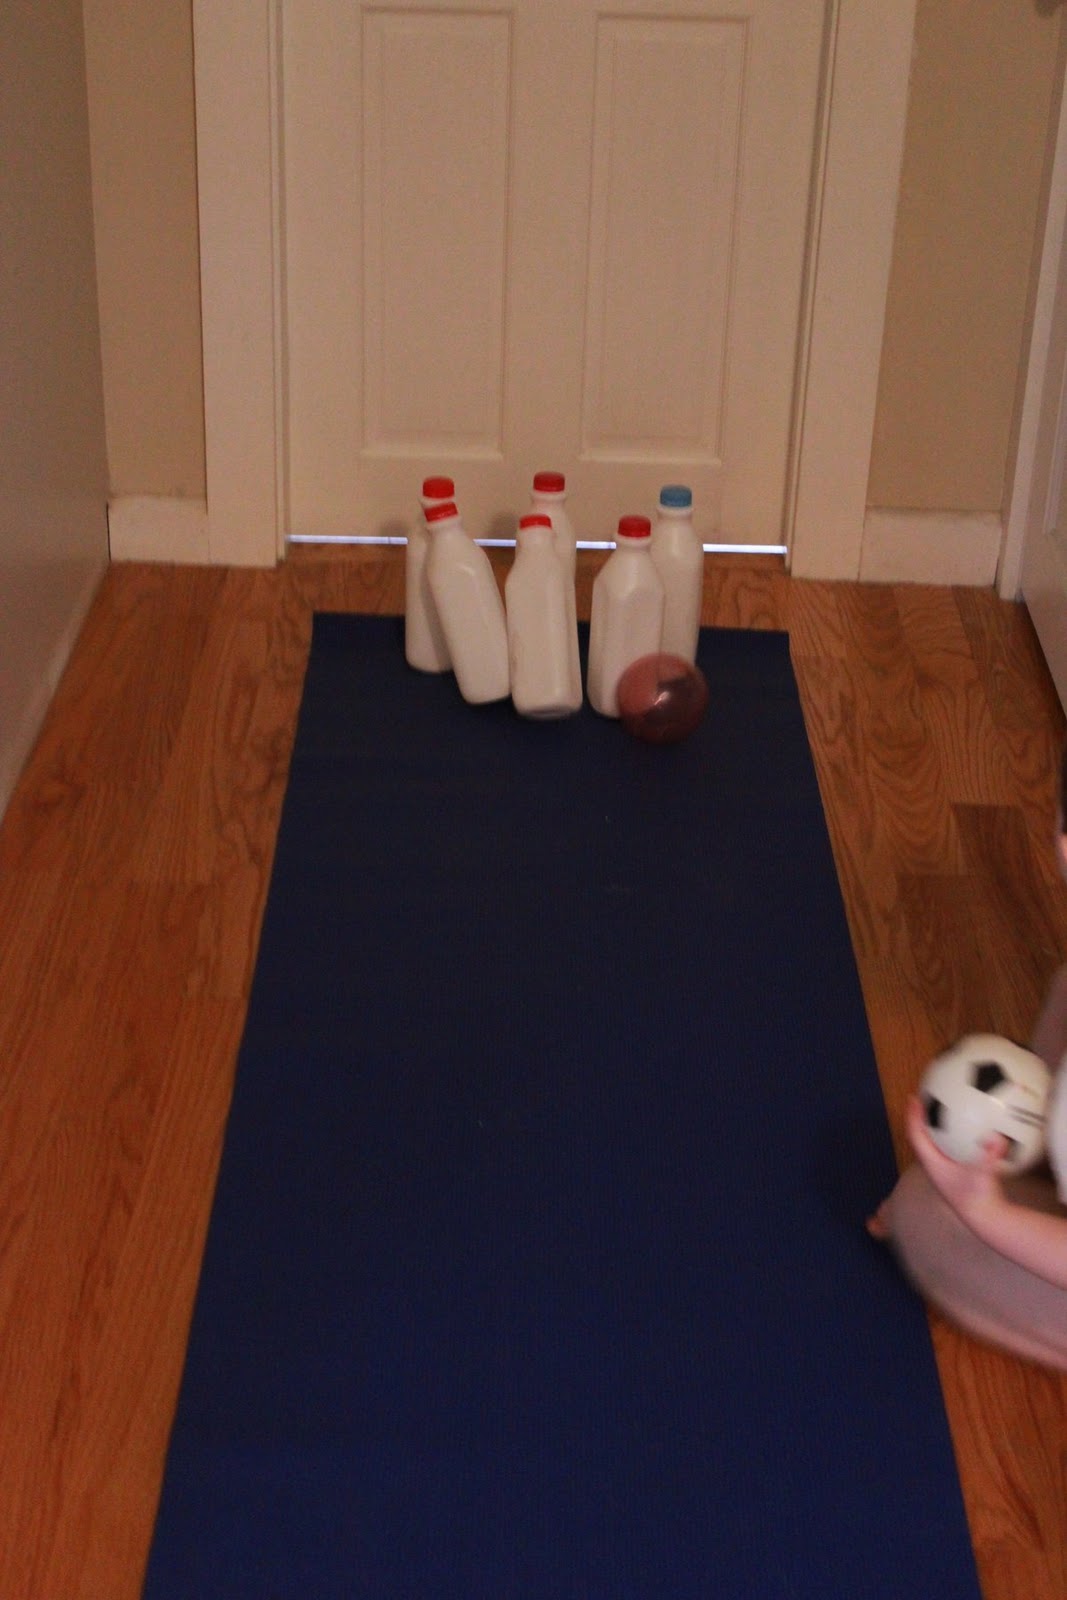
          This is a great activity for a rainy day, or a sick day, which is what we are having today! All you need is a ball and some saved containers. I've found that kefir bottles work really well for bowling, and 6 seem to be enough for the game. You can set them up in a 3-2-1 pattern or however your child would like - in a row, 2 by 2, etc.

          Optional:
          • Add some dried beans, corn, or rice into the bottles to help keep them from falling over too easily
          • Define your bowling area with something like a yoga mat
          • Keep score: We have a spare count as 10 points, and a strike as 15. Great math practice!
          Our bowling alley
          Filling the bottles
          Pins!
          In action!

          quick dry erase board

          What you need:
          • piece of wood/plastic/cardboard the size of your dry erase board
          • plain white contact paper
          • dry erase markers and eraser 
          • general purpose spray adhesive (optional)
          This isn't a perfect dry erase board in that it doesn't really erase all the way. However, it erases better than the dry erase boards from the dollar store, and you can make it in whatever shape you'd like! I used spray adhesive to increase the likelihood it would stay attached to the wood.

          Materials to make the board.
          Testing it out.
          If you have any chalkboard paint lying around, it might be fun to paint the reverse side with it!