momgineer

quick light box

I have always liked the light table at our local children's museum. Due to several recent posts exploring light at Play At Home Mom, I have really been coveting a light table. While I would love to have one, I can't justify the cost without knowing how much use it would get. For our purposes at this point in time, I decided to make a quick test model just to see how long a light table would hold interest.

Playing with color.
What you need:
  • Bin or box with a translucent lid
  • Aluminum foil
  • LED flashlights (regular, if that's all you have!) or holiday lights (a resourceful mom I know used these!)
  • Objects that allow light through!
    • marbles
    • stones
    • tissue paper
    • magna tiles(if you have them)
    • clear plastic bottle (optional) 
    • x-rays

Line your box with aluminum foil. Turn on all the flashlights. Put the lid on.
What it looks like inside.
Turning the flashlights on end so they point toward the lid works well, but was too difficult to see in photos.
Voila! Two minute light table!
It's not perfect, but it definitely served its purpose. I will probably use a larger bin next time, but everything else worked well enough to do again. The tissue paper was great for making colors!

kefir bottle bowling

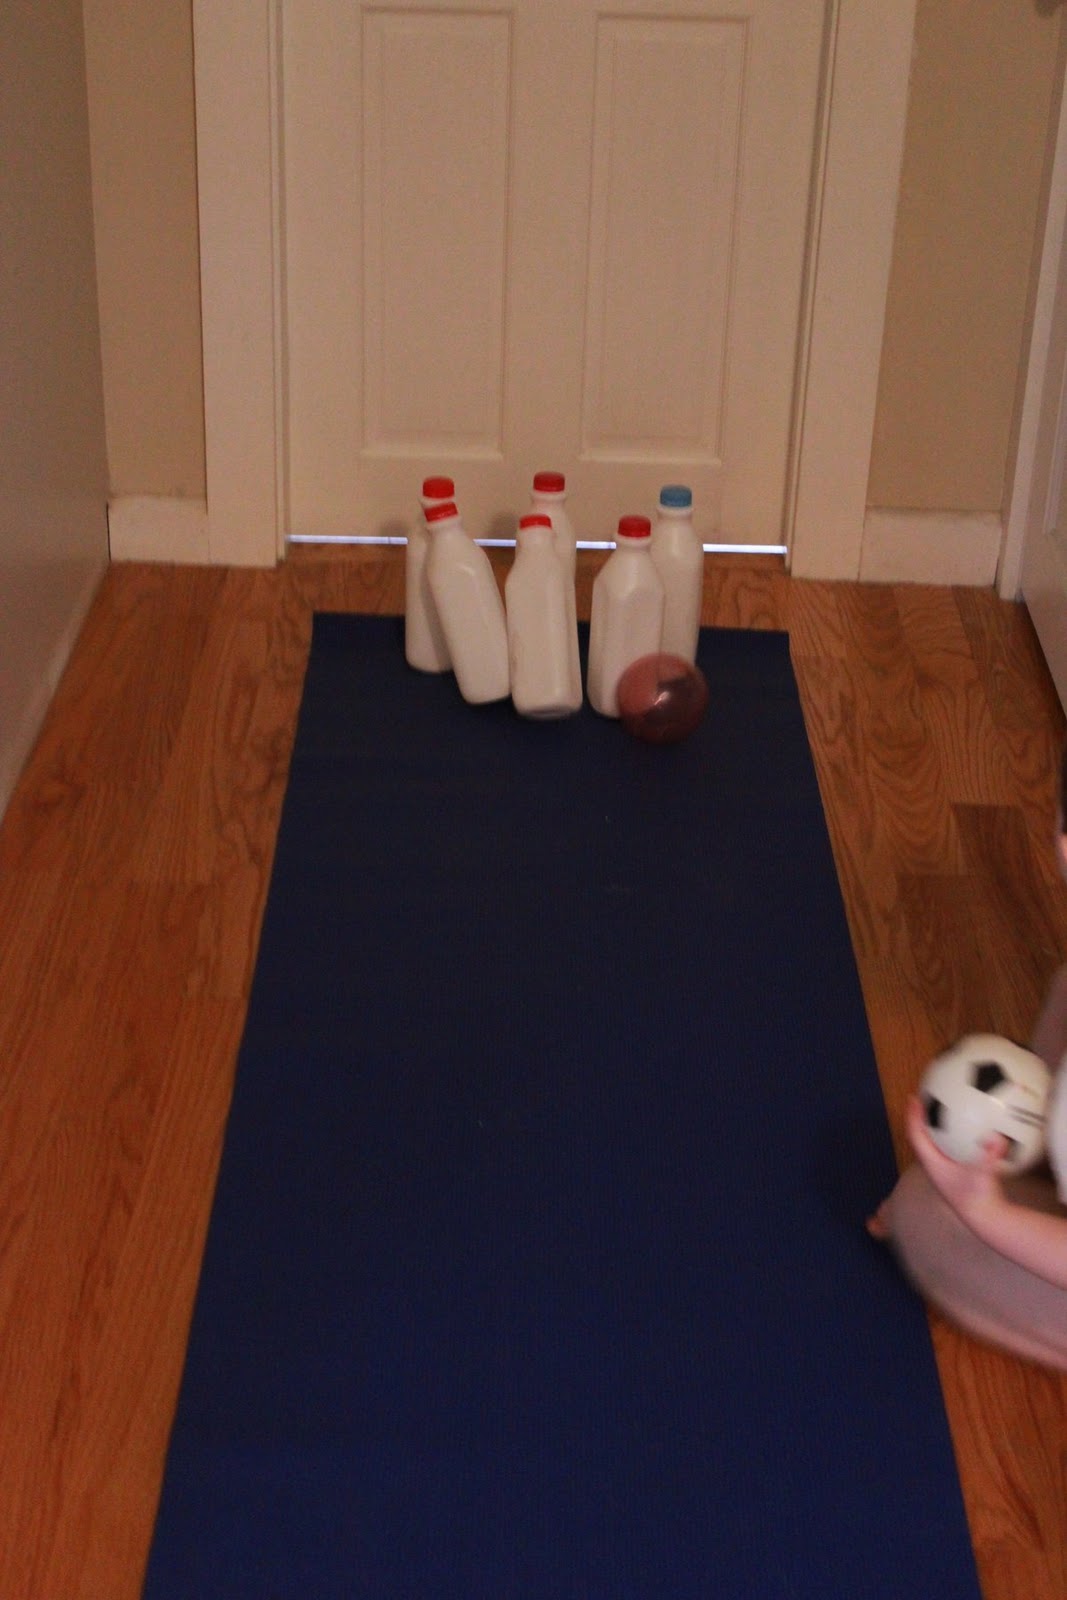
This is a great activity for a rainy day, or a sick day, which is what we are having today! All you need is a ball and some saved containers. I've found that kefir bottles work really well for bowling, and 6 seem to be enough for the game. You can set them up in a 3-2-1 pattern or however your child would like - in a row, 2 by 2, etc.

Optional:
  • Add some dried beans, corn, or rice into the bottles to help keep them from falling over too easily
  • Define your bowling area with something like a yoga mat
  • Keep score: We have a spare count as 10 points, and a strike as 15. Great math practice!
Our bowling alley
Filling the bottles
Pins!
In action!

quick dry erase board

What you need:
  • piece of wood/plastic/cardboard the size of your dry erase board
  • plain white contact paper
  • dry erase markers and eraser 
  • general purpose spray adhesive (optional)
This isn't a perfect dry erase board in that it doesn't really erase all the way. However, it erases better than the dry erase boards from the dollar store, and you can make it in whatever shape you'd like! I used spray adhesive to increase the likelihood it would stay attached to the wood.

Materials to make the board.
Testing it out.
If you have any chalkboard paint lying around, it might be fun to paint the reverse side with it!

Nature Bingo Printable Activity - Take a Hike with your Kids

Play Nature Bingo on a Nature Walk! 

Nature BINGO cards to use when hiking, camping, or walking around your neighborhood. Get outside and enjoy nature with your kids! | Meredith Anderson - Momgineer

At one lovely visit to Dinosaur State Park in Connecticut, they had a game of Nature Bingo available that the kids found really enjoyable. All you need is images and/or words of things in nature that you would find in your neighborhood. I made the following cards based on things we might see in our neighborhood, but feel free to make your own if you have different nature items near you. This is a great activity for Earth Day to really connect with nature.

How to Use these Nature Bingo Cards

  • Print out and laminate the cards, then (optional)
  • Hole punch two holes to thread yarn so you can wear the card around your neck.
  • Use washable markers / dry erase to mark off what you see.
I attached Velcro stickers to the Nature Bingo cards and washable markers so you don't have to hold your marker either. Use these cards over and over again, whether you are camping, exploring a new hiking trail, or going for a walk in your neighborhood.  Feel free to click on the images to enlarge and print them or download the entire set at my Teachers pay Teachers store! I may add a 5x5 true BINGO card in the future, but 4x4 seems to be the right size for preK through lower elementary.
Nature Bingo - Great for Earth Day!


Update: there is also a free downloadable set available at the Mass Audubon site!

*Full image credits are included in the full download, available at Teachers pay Teachers.

hot day water play

We have been having a heat wave in the northeast, so have been spending a lot of time in and around water to cool down. While the water table is always a favorite, I thought I'd share some ideas to make it even more fun. Ideas of things to add:
  • Turkey basters or eyedroppers
  • Measuring cups
  • Empty bottles
  • Pop tubes - we like to extend and connect them
  • Squirting toys

funnels 
turkey baster, funnel, pop tubes
 Hosing off the deck.
Figuring out how many cups fill the bottle.

weaving practice

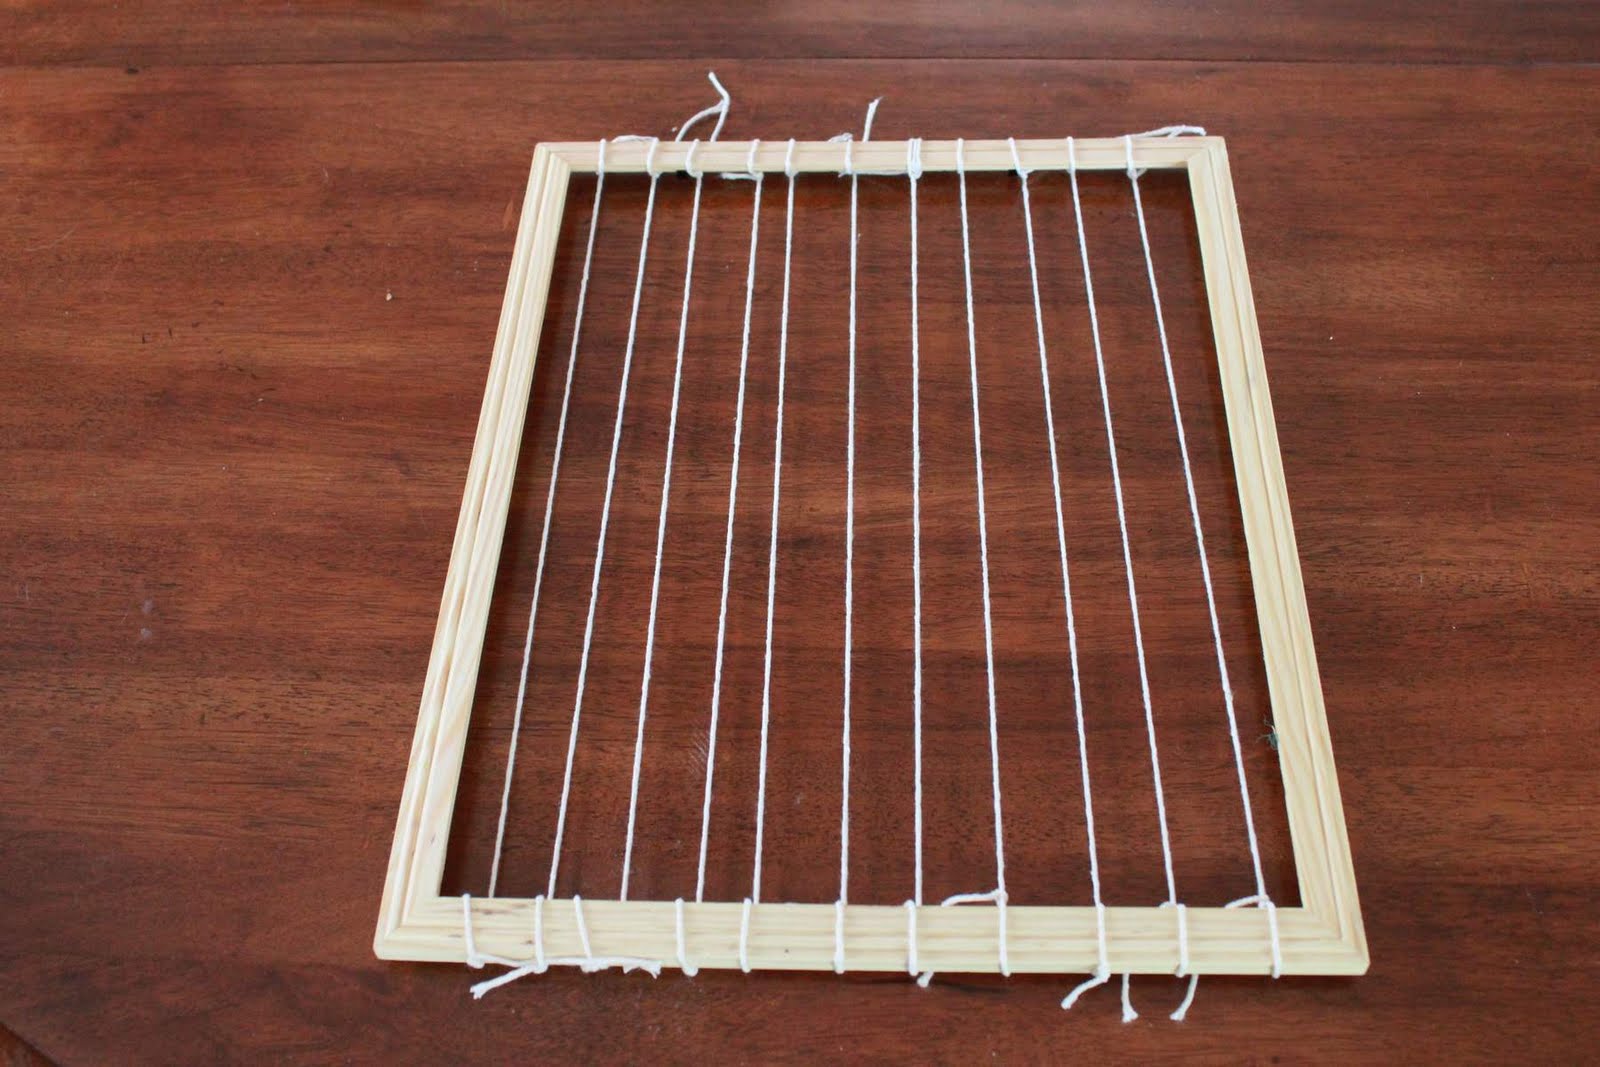
This was an inexpensive and fast (<15 minutes to set up) project that I got the idea for after visiting a children's museum that had something similar.


What you need: 
  • Frame (mine was $1 at the local dollar store)
  • String
  • Scissors
  • Fabric, ribbon, shoelaces, etc. Different textures are nice. I threw some hook and loop in there too.
The frame I started with. I just took out the glass and paper.
Add some strings. I will probably add more to make it more challenging in the future.
Materials for weaving. Cut the fabric to different widths.
H weaves.
Done!
It might be fun to have different colored fabric scraps around for different holidays, or to make a rainbow, or enough of the same kinds to do patterns. After some practice we might move on to a real weaving frame, but this is fun in the meantime. Apparently it is even more fun to pull all of the ribbons out after the project is complete!

rock hunt

This is one of our favorite outdoor activities. H&F don't like going on walks without a purpose, and although I'd love to just walk for the sake of walking, giving them a task to focus on while we're walking seems to help them enjoy the walk quite a bit more than they would otherwise.

What you need:
  • basket or beach pail 
  • a safe place to walk (I also like to bring the wagon, in case pails get too heavy or little feet get too tired!)
That's it!

We like to save our rocks and bring them inside, weigh them, wash them in a basin and then build with them, sort them by size, or paint them.

Rock hunting in the neighborhood!
Weighing in.
Rinsing and scrubbing. Good skills to master!
F paints. We added stick on googly eyes after they dried.
H paints! You can also warm the rocks in the oven and use crayons to color them.
Loot from a previous rock hunt. Great for sorting.
We picked up a few more rocks at a local park recently. Some great finds!
I may have to find a few more good sized, flat rocks. After seeing these on pinterest, I really want some for my garden!
How cute are these?!